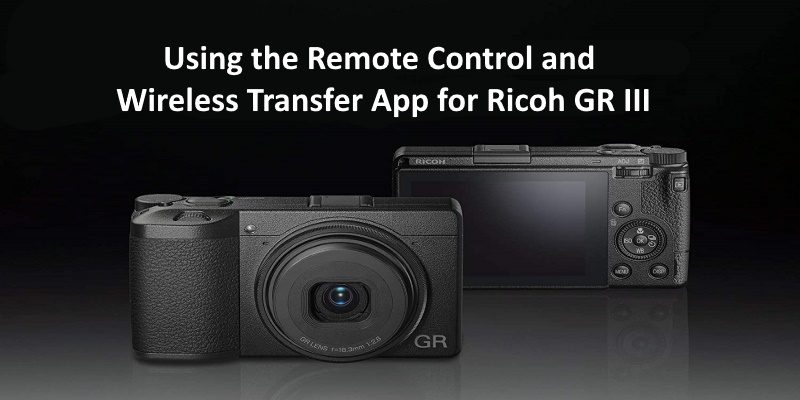
Using the Remote Control and Wireless Transfer App for Ricoh GR III.
The Ricoh GR III camera, a product of the renowned Ricoh Imaging company, is renowned for its compact design, excellent image quality, and advanced features. To enhance the user experience and functionality of this camera, Ricoh offers a handy mobile application called ‘Image Sync.’ This app enables wireless transfer of images and remote control of the camera, enhancing your photography experience.
This metering modes explanation also applies to the Ricoh GR III Street Edition, the Ricoh GR III Diary Edition and the Ricoh GR IIIx Urban Edition.
Here is a comprehensive guide on how to effectively use the Remote Control and Wireless Transfer application for the Ricoh GR III camera.
Step 1: Install the Image Sync App
First, download the Image Sync app on your smartphone. The application is available on both Android and iOS platforms, and it can be found on Google Play Store or Apple App Store, respectively.
Step 2: Connect Your Camera to Your Smartphone
After successfully installing the app, the next step is to connect your Ricoh GR III camera to your smartphone.
Enable Wi-Fi on your Ricoh GR III: Navigate to the Wi-Fi settings on your camera (Menu > Settings > Wi-Fi). Enable the Wi-Fi and note down the SSID and password displayed on your camera screen.
Connect your smartphone to your camera’s Wi-Fi: Go to the Wi-Fi settings on your smartphone, find the SSID of your camera, and connect to it using the password you noted down.
Open Image Sync app: Launch the Image Sync app on your smartphone. You should see your Ricoh GR III camera listed. If not, tap on the “add camera” or “+” symbol to manually search for your camera. When found, select it to connect.
Step 3: Transfer Images Wirelessly
With your camera and smartphone connected, you can now transfer images wirelessly.
Select the images you want to transfer: In the Image Sync app, go to the ‘Images on Camera’ section. Here you’ll see all the images stored in your camera. Simply tap on the images you want to transfer.
Start the transfer: Once you have selected all the desired images, tap on the ‘Download’ button. The selected images will be transferred to your smartphone.
Remember, the transfer speed might vary based on the size of your images and the speed of your Wi-Fi connection.
More info about the Ricoh GR III camera here.
Step 4: Remote Control Your Camera
The Image Sync app also allows you to control your Ricoh GR III camera remotely.
Open Remote Capture: On the app’s home screen, tap on the ‘Remote Capture’ option.
Control your camera: Now, you’ll see a live view of your camera’s feed on your smartphone screen. You can adjust settings like aperture, shutter speed, ISO, white balance, and focus right from your smartphone. Once you’re happy with the settings, tap the shutter button on your smartphone screen to take a picture.
Check your shot: The image will be saved in your camera’s memory card but a preview will also appear on your smartphone screen.
The Image Sync app for Ricoh GR III greatly extends the functionality and convenience of this powerful camera. With this guide, you should be able to use this app to wirelessly transfer your images and remotely control your camera. Happy shooting!
Please take a look at the best accessories for your Ricoh GR III.