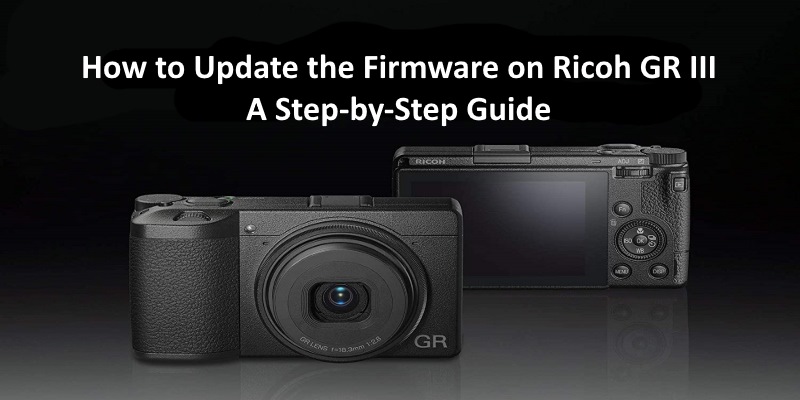
How to Update the Firmware on Ricoh GR III: A Step-by-Step Guide.
This firmware update process also works with the Ricoh GR III Street Edition, the Ricoh GR III Diary Edition and the Ricoh GR IIIx Urban Edition.
Ricoh GR III is a high-quality compact camera, widely appreciated by both amateur and professional photographers for its exceptional image quality and portability. To ensure the best possible performance and user experience, Ricoh periodically releases firmware updates that enhance the camera’s features and fix known bugs. This article provides a comprehensive, step-by-step guide on how to update the firmware on your Ricoh GR III.
Why Update Your Firmware?
Updating the firmware on your Ricoh GR III can deliver several benefits, such as:
Improved camera performance
Enhanced features
Bug fixes and stability improvements
Compatibility with new accessories
By updating your camera’s firmware, you can ensure that your Ricoh GR III is always performing at its best and that you are taking full advantage of its capabilities.
Step-by-Step Guide to Updating Firmware on Ricoh GR III
Please follow these steps carefully to ensure a successful firmware update:
Step 1: Check Your Current Firmware Version
Before you begin the update process, it is essential to check your camera’s current firmware version. To do this, follow these steps:
Turn on your Ricoh GR III.
Press the ‘Menu’ button.
Scroll to the ‘Setup’ tab (represented by a wrench icon).
Select ‘Firmware Info/Options’ and press ‘OK’.
The current firmware version will be displayed.
If the displayed firmware version is older than the latest available version, proceed to the next step.
Step 2: Download the Latest Firmware
Visit the Ricoh GR III official support page To find your camera.
Look for the latest firmware version in the ‘Firmware Update’ section.
Click on the download link and save the firmware file (.bin) to your computer.
Step 3: Prepare a Memory Card
The Ricoh GR III does not need super fast SD cards. A SD card rated at U3/V30 will give max write speed.
To update the firmware, you will need a formatted SD memory card with at least 1GB of free space. Follow these steps to prepare the card:
Insert the memory card into your Ricoh GR III.
Turn on the camera.
Press the ‘Menu’ button and navigate to the ‘Setup’ tab.
Scroll to ‘Format’ and press ‘OK’.
Confirm the formatting by selecting ‘Execute’ and pressing ‘OK’.
Turn off the camera and remove the memory card.
Step 4: Copy the Firmware File to the Memory Card
Insert the formatted memory card into your computer’s card reader.
Locate the downloaded firmware file (.bin) on your computer.
Copy the firmware file to the root directory of the memory card (not inside any folders).
Safely eject the memory card from your computer.
Step 5: Install the Firmware Update
Ensure that your Ricoh GR III has a fully charged battery.
Insert the memory card containing the firmware file into your camera.
Turn on the camera while holding the ‘Menu’ button.
The camera will display the firmware update screen, showing the current firmware version and the new version.
Press the ‘OK’ button to start the update process.
The update process will take a few minutes. Do not turn off the camera, remove the battery, or interrupt the process in any way during this time.
Once the update is complete, the camera will restart automatically.
Step 6: Verify the Firmware Update
Turn on your Ricoh GR III.
Press the ‘Menu’ button and navigate to the ‘Setup’ tab.
Select ‘Firmware Info/Options’ and press ‘OK’.
4. Verify that the displayed firmware version matches the latest version you downloaded.
If the firmware version is correct, the update was successful. You can now enjoy the improved performance and new features of your Ricoh GR III.
Step 7: Delete the Firmware File from the Memory Card
After a successful update, it is essential to remove the firmware file from the memory card to avoid accidental reinstallation. To do this, follow these steps:
Turn off the camera and remove the memory card.
Insert the memory card into your computer’s card reader.
Locate and delete the firmware file (.bin) from the memory card.
Safely eject the memory card from your computer.
You can now continue using your Ricoh GR III with the latest firmware version.
Updating the firmware on your Ricoh GR III is a straightforward process that can significantly improve your camera’s performance and functionality. By following the steps outlined in this article, you can ensure that your camera remains up-to-date with the latest enhancements and bug fixes, providing you with the best possible user experience. Remember to periodically check for firmware updates and follow these steps to keep your Ricoh GR III operating at its full potential.
You may also want to take a look at the best accessories for your Ricoh GR III.