Double Exposure Photography with the RICOH GR III: A Comprehensive Guide.
Photography is an art, a language where the photographer communicates their perception of the world through their lens. Double exposure is one such creative technique that offers a unique perspective and emotional depth to the images. And if you have a RICOH GR III in your hands, you’re already halfway to mastering this technique.
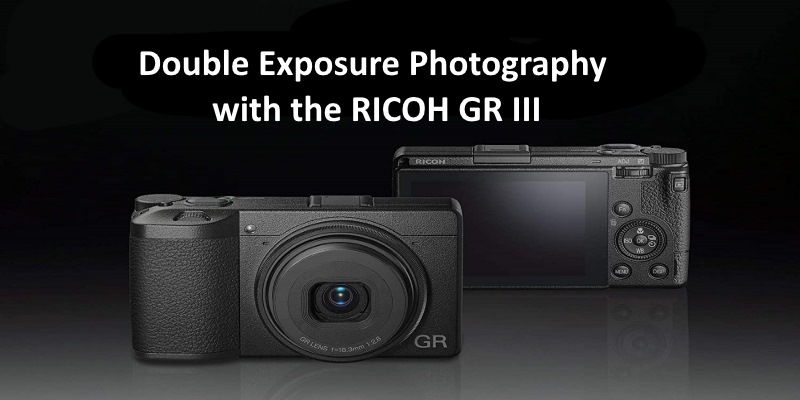
The RICOH GR III, a high-end compact camera, is known for its exceptional image quality and diverse range of features. It offers a built-in double exposure mode, providing a straightforward and intuitive process for creating multi-layered images. This article will guide you through the steps of creating double exposure photographs with your RICOH GR III.
This Also Works With The Ricoh GR III Street Edition, The Ricoh GR III Diary Edition And The Ricoh GR IIIx Urban Edition.
Understanding Double Exposure
Before we dive into the steps, let’s understand what double exposure is. Double exposure is a technique where two or more individual exposures are superimposed to create a single photograph. The result is a seamless blend of the images that tells a compelling visual story.
More RICOH GR III Info Here.
Setting Up Your RICOH GR III
To start, ensure that your RICOH GR III is fully charged and ready for use. This ensures that you don’t run out of battery in the middle of your shoot, which can be a significant disruption.
Next, set the shooting mode to Aperture Priority (Av) or Manual (M). This gives you more control over the exposure and depth of field. If you’re a beginner, Aperture Priority is a good starting point, as the camera will automatically adjust the shutter speed based on the aperture you choose.
Engaging Double Exposure Mode
Once your camera is set up, it’s time to engage the double exposure mode. Here’s how to do it:
Press twice the Right Side Of Wheel on the back of the camera.
Scroll down until you find Multi-exposure, and select it.
From the options that appear, select Number of shots. Set this to 2 for a double exposure.
After this, select Mode, and set it to Continuous. This means that the two images will be shot continuously, one after the other.
Press the Menu button again to exit the menu. The camera is now set up for double exposure.
Shooting Your Double Exposure
With your RICOH GR III set up for double exposure, it’s time to start shooting. Here are some steps to guide you:
First Exposure: Choose your first subject. This could be a person, an object, or a landscape. Frame your shot and press the shutter release button. The image will be captured and temporarily stored in the camera. Remember, a high-contrast image works best for the first exposure as it will serve as a sort of ‘mask’ for the second one.
Second Exposure: Now, compose your second image. This could be a texture, a pattern, or another subject. When you’re ready, press the shutter release button again. This image will blend with the first one to create your double exposure. The second exposure often forms the ‘filling’ within the high-contrast areas of your first shot.
Review: After the second shot, the camera will process the two images and create a single, double-exposed image. You can review this on the LCD screen.
If you’re not happy with the result, you can always try again. The key to a good double exposure is experimentation. Try different subjects, different compositions, and different exposure settings until you find a combination that works for you.
You may also want to take a look at the best accessories for your Ricoh GR III.
Post-Processing
While the RICOH GR III does a great job of creating double exposures in-camera, you may want to tweak the results in post-processing for a more polished outcome. Software like Adobe Photoshop or Lightroom can help you adjust the brightness, contrast, saturation, and other parameters for each layer of the double exposure.
When adjusting your double exposure in post-processing, consider the following:
Brightness and Contrast: Adjust these settings to ensure both exposures are visible in the final image. Remember, subtlety is key here. You don’t want to overpower one image with the other.
Color Balance: If your exposures have different color temperatures, you might want to balance them for a more cohesive final image. You can do this by adjusting the temperature and tint sliders in your editing software.
Sharpness and Clarity: Sharpness can make or break a double exposure. You may need to adjust the sharpness of one or both exposures to achieve the best result. Similarly, adjusting the clarity can help to define or blend your exposures as needed.
Finishing Touches: Consider adding vignettes, gradients, or other effects to enhance the final image. These can help to direct the viewer’s eye and create a more engaging composition.
Conclusion
Double exposure photography is an exciting and creative technique that allows you to tell complex visual stories. With the RICOH GR III, this technique is more accessible than ever, enabling photographers of all levels to experiment with multiple exposures. Remember, the key to successful double exposure photography is experimentation, so don’t be afraid to try different combinations and techniques. Happy shooting!
You may also want to take a look at the best accessories for your Ricoh GR III.
Thank for the how to video. I have never tried doing a double exposure with my GR iiix camera before. In fact, I didn’t even know it could do multiple exposures in camera. I plan on going out and giving it a try tomorrow.
my double exposures are showing up in separate folders on my flash card. is there a way to have all captures in one folder?
I don’t have that issue and I have never heard of that happening. My DNG and Jpegs have both shots baked into the same file. I will look into it when I get the time.
Try going to settings. composite mode. Look if you have “Save Interim Images” turned on. If so turn it off and see if that fixes it.
worked!!! thank you so much
Great. Glad it worked.